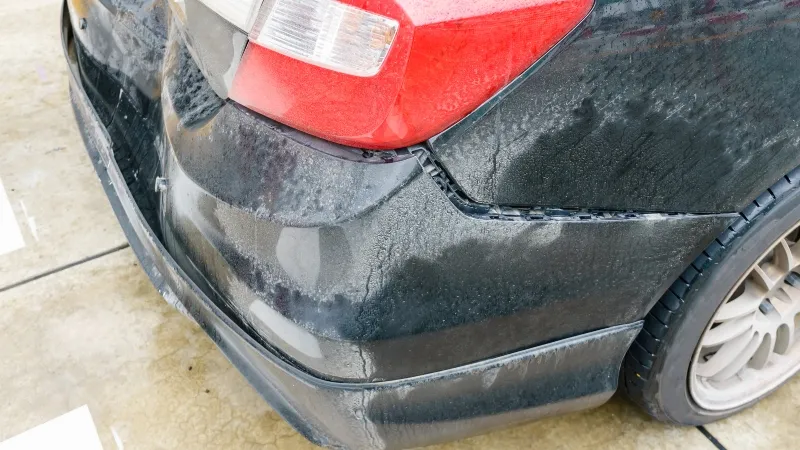
A cracked bumper is an eyesore and can lead to more significant problems if left untreated. Whether caused by a minor accident, road debris, or other unforeseen circumstances, a cracked bumper can detract from your vehicle’s appearance and potentially reduce its value.
Repairing a cracked bumper on your own is a cost-effective solution that can restore your car’s look and provide a sense of accomplishment.
This guide will walk you through the process, offering detailed steps to help you achieve professional results at home.
Materials and Tools Needed
Before you begin, it’s essential to gather all the necessary materials and tools. You’ll need a bumper repair kit, which typically includes a repair compound, hardener, and applicator.
Additionally, have sandpaper of various grits on hand (80-grit for rough sanding and 320-grit for finishing). Primer and paint that match your vehicle’s color are crucial for a seamless finish. Other tools you’ll need include a heat gun, utility knife, screwdriver, and putty knife.
Professional auto body shop services use all the tools that are needed for excellent bumper repair.
Preparing the Area

Start by thoroughly cleaning the bumper to remove any dirt, grime, or debris. Use a mild detergent and water, ensuring the area around the crack is completely clean and dry before you proceed. This preparation step is vital for ensuring that the repair materials adhere properly.
Next, assess the damage to determine the extent of the crack. If the crack is deep, running through the entire thickness of the bumper, more extensive repair work will be required. Surface cracks, on the other hand, are typically easier to fix and may only require minor filling and sanding.
Repairing the Crack
The first step in repairing the crack is to sand the area around it. Use 80-grit sandpaper to roughen the surface, which will help the repair compound bond effectively. Be sure to sand a few inches beyond the crack on all sides to create a smooth transition between the repaired area and the rest of the bumper.
Once the area is prepped, it’s time to apply the bumper repair kit. Follow the instructions provided with your kit to mix the repair compound and hardener.
Apply the mixture to the crack using a putty knife, making sure to fill the entire crack and smooth the surface as much as possible. It’s important to work quickly, as the compound will begin to harden within a few minutes.
After applying the compound, allow it to dry completely. Drying times can vary depending on the product you’re using, so refer to the kit’s instructions. Ensure the repaired area is fully hardened before proceeding to the next step.
You can use body repair services that will include repair for your cracked bumper.
Finishing Touches

Once the repair has dried, you’ll need to sand the area again, this time using 320-grit sandpaper. Sand the repaired area until it’s smooth and blends seamlessly with the surrounding bumper. This step is crucial for achieving a professional-looking finish.
Next, apply a coat of primer to the repaired area. The primer helps the paint adhere and provides a uniform base for color application. After the primer has dried, you can apply the paint.
Use light, even coats, allowing each layer to dry before applying the next. Depending on the color and finish, you may need to apply several coats to achieve full coverage.
Finally, once the paint is dry, buff and polish the area to give it a glossy finish that matches the rest of your bumper. A polishing compound can help eliminate any minor imperfections and enhance shine.
Final Checks
After completing the repair, inspect the bumper to ensure there are no remaining issues. Check that the repair is smooth, the color matches and the bumper is securely attached to the vehicle. Gently press on the repaired area to ensure it’s stable and properly aligned with the rest of the bumper.
Maintenance Tips
To keep your bumper in good condition and prevent future damage, consider applying a protective coating to the bumper’s surface. Regularly washing and waxing your vehicle will also help protect the bumper from the elements and minor impacts. Avoid parking too close to other vehicles or obstacles that could cause new damage.
Conclusion
Repairing a cracked bumper yourself is a straightforward process that can save you money and restore your vehicle’s appearance. By following these steps, you can achieve a professional-quality repair at home. However, if the damage is extensive or you’re unsure about your ability to fix it, seeking professional help is always a wise option.


